Friday, October 17, 2014

Thanksgiving is just around the corner!!!

Hello friends!
Today I wanted to share with you a fun tutorial, on how to create cute place card holders, as well as treat holders for your Thanksgiving table. The adults and the kids will love getting these at their place in the table. It looks like it's complicated to make, but it's really not!
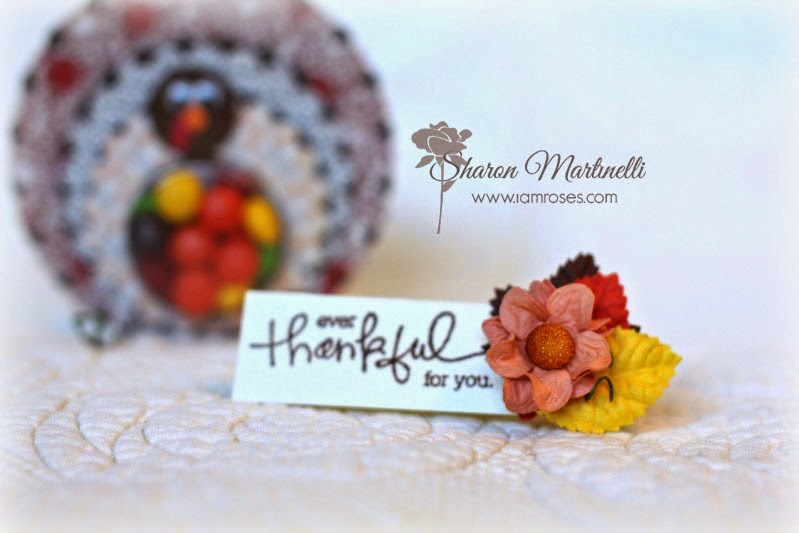


Used some I Am Roses Flowers ( G1-426) (L21) (L20), as well as some Stampin up Sweet Treat cups, paper from the Ambrosia Collection by Basic Grey, some googly eyes, and some lightweight chipboard.

These are super cute and easy to mass produce, so no matter if you have 4,6,12 or even 24 people coming over for dinner on Thanksgiving Day, you'll have no trouble getting these done. Hope you enjoy the tutorial below!
Monday, October 6, 2014

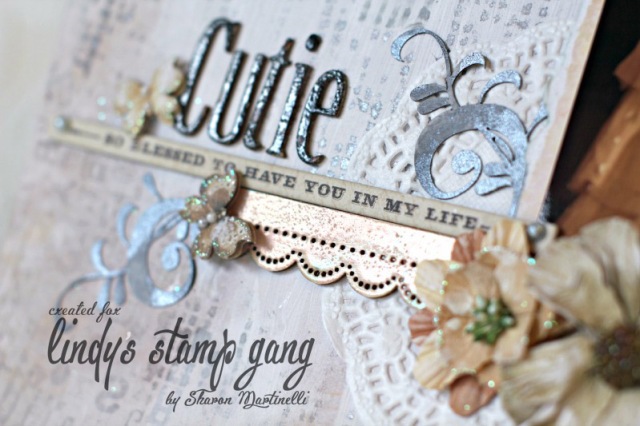
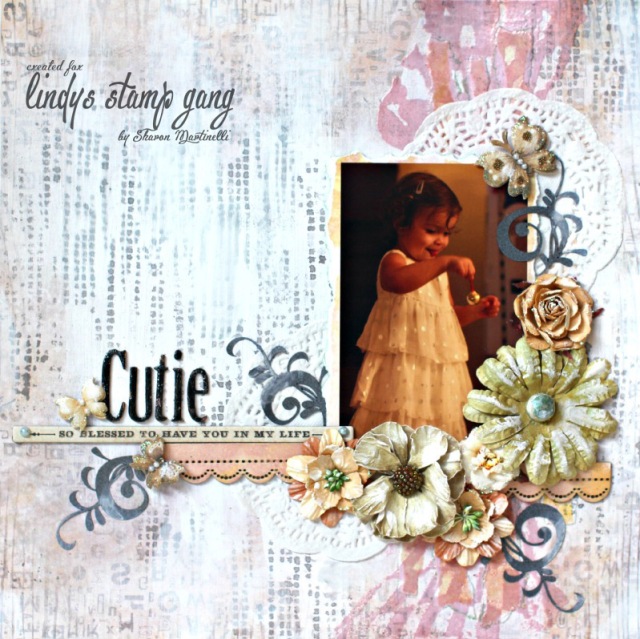
"Cutie" Scrapbook Layout

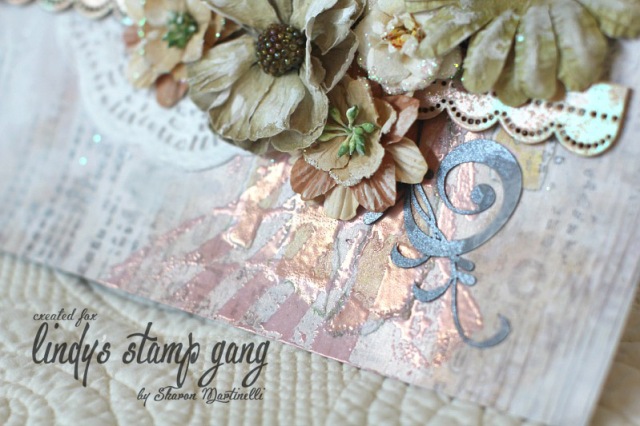
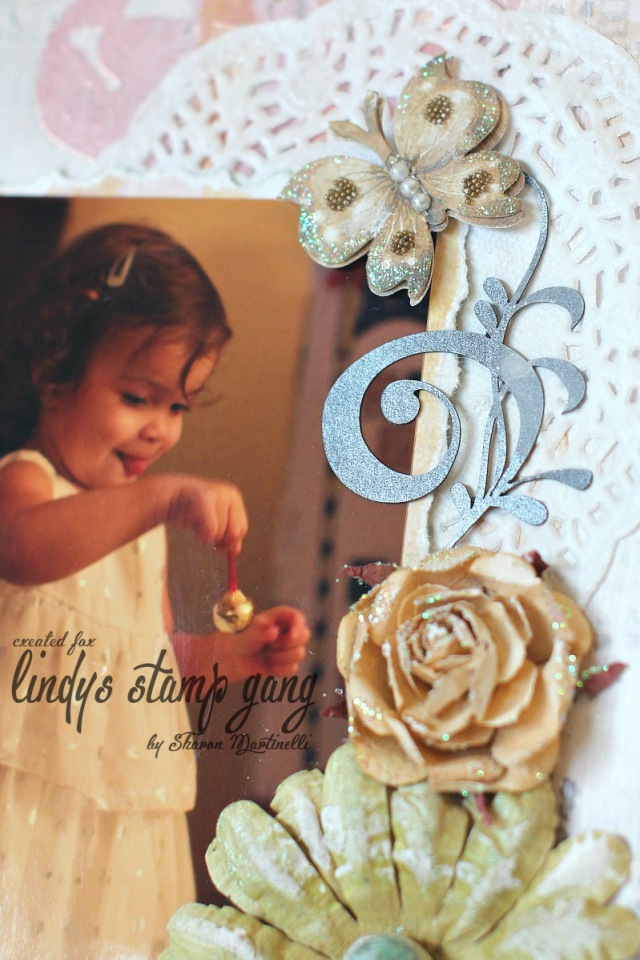
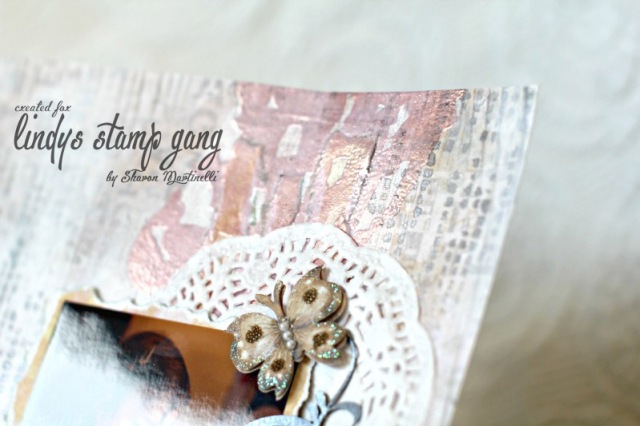
Hello everyone! Today I want to share with you how I created my layout for the Lindy's Stamp Gang October Color Challenge reveal day. You'll get to see some close up shots, as well as enjoy a quick video tutorial on what I did to create it!
If you've followed me on my YouTube Channel for quite a while, you know very well the love affair I have with Lindy's Stamp Gang embossing powders. I just think they are so unique, and give any project such an awesome look. In this layout, I used several of them, in different ways, I love the two toned effect on the different areas of my layout. In the close up shots, you'll be able to tell the awesomeness of these powders. Take a closer look:  Sharon LSGOCTCC1 copy Sharon LSGOCTCC2 copy Sharon LSGOCTCC3 copy Sharon LSGOCTCC4 copy     

This is the finished layout in its entirety, and the video tutorial for you enjoyment. Hope you like it!Sharon oct 1

Products used:
- Hibiscus Rose Orange Embossing Powder
- Desert Moon Copper Teal Embossing Powder
- Black Orchid Purple Startburst Stain
- Stampendous Embossing Ink
- The Crafter's Workshop Mini Tile Texture template
- Dylusions Luscious leaves Stencil
- Petaloo Flowers
- Hobby Lobby Flowers
- Petaloo butterflies
- White doilies
- MME chipboard Sticker
- Prima Wood venner border
- Paper swirls from my stash
- Chipboard alpha from my stash
- Guesso and Soft Matte Gel Medium by Golden

Wednesday, October 1, 2014

Altered Paper Bag Tutorial

Hi there, and happy fall!

October is here and fall is in full swing, and you know what that means, Thanksgiving and Christmas is just around the corner!

Today I wanted to share with you an altered paper bag I created for the I Am Roses challenge for this month on the I Am Roses Challenge blog. This month's theme is to use black and orange and the challenge is to use/create/incorporate a bag.

I altered a kraft lunch bag using one of my Gorjuss Girl stamped images, and my daughter loves it!


I used Teresa Collin's Haunted Hallow's paper, Lil Inker Designs Small Bow Die, Simon Says Stamp "Expressions for you" Set (die and stamps), as well as I Am Roses daisies in black (D1-505), and also a few rose buds in both black and white (T30-274) (T30-151). In addition i added a doily, and some black tule to the back of the bag as my base for everything. Please enjoy the video below so you can see how this came together. To not miss any of my other tutorials, please subscribe to my YouTube Channel here. Thanks for stopping by!

Related Posts Plugin for WordPress, Blogger...